.
Did you know that your flat iron isn’t just for straightening? That’s right—you can also use it to create stunning, bouncy curls. If you’ve ever wished for more versatility with your styling tools, a flat iron can be your go-to for not only sleek looks but also soft waves or tight curls. It’s like having two tools in one, and with the right technique, you can achieve some truly gorgeous curls.
Ready to learn how? Let’s walk through the process step by step so you can master the art of curling with your flat iron.
Tools You’ll Need
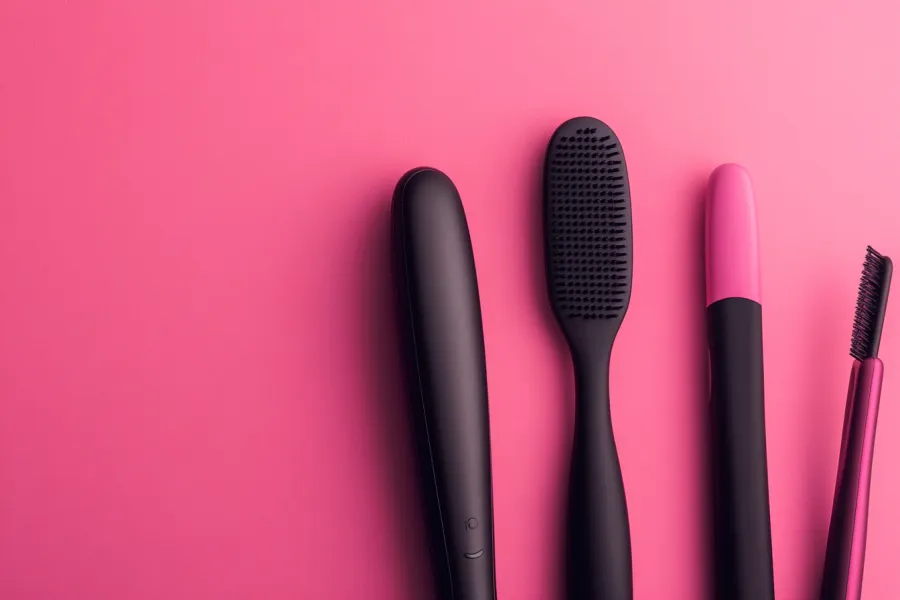
Before we get started, make sure you have all the right tools on hand to make curling with a flat iron a breeze. Just like how you wouldn’t straighten your hair without a hair straightening brush to detangle, curling with a flat iron requires a few essentials.
- Flat Iron: You’ll want one with rounded edges. This makes it easier to create smooth, natural-looking curls without any harsh lines.
- Heat Protectant: A must for protecting your hair from the high temperatures of the flat iron.
- Comb or Brush: Remove any tangles before you start curling.
- Hair Clips: These will help section your hair, making the curling process more manageable.
- Finishing Spray or Hair Spray: To hold those curls in place all day long.
Preparing Your Hair for Flat Iron Curls
Now that you’ve got your tools ready, let’s talk about preparation. Prepping your hair properly is the key to getting the best results and keeping your curls intact.
Wash and Dry Your Hair
Always start with clean, dry hair for the best results. If your hair is still damp, you won’t get the defined curls you’re aiming for, and you could end up damaging your hair. After washing, dry your hair completely. You can either blow-dry or air-dry—whatever works best for your routine. Just make sure it’s fully dry before moving on to the next step.
Apply Heat Protectant
Before any styling, make sure to apply a good heat-protectant spray to your hair. This will shield your strands from the heat of the flat iron, reducing the risk of breakage or dryness. It’s a small step, but it makes a huge difference in keeping your hair healthy and shiny, especially if you curl your hair regularly.
Section Your Hair
Next, divide your hair into sections using clips. This will help you curl each piece evenly and avoid missing any spots. The more sections you create, the easier the curling process will be. If you have thicker hair, you may want to make more sections, while those with finer hair can stick to fewer.
Step-by-Step Guide to Creating Curls with a Flat Iron
Let’s get to the fun part—creating those gorgeous curls. Here’s how you can use your flat iron to make everything from loose waves to tighter, more defined curls.
Choosing the Right Temperature
Before you start, set your flat iron to the right temperature. This will depend on your hair type. For fine or fragile hair, use a lower heat setting to avoid damage. If your hair is thicker or coarser, you can go a bit higher but don’t overdo it. The key is to find the perfect balance where your hair curls easily but isn’t fried by too much heat.
Creating Loose Waves
To create soft, beachy waves, take a section of hair and clamp the flat iron near the roots. Twist the flat iron away from your face, then slowly pull it downward while maintaining the twist. The slower you go, the more defined the wave will be. For a more relaxed look, don’t twist too tightly. You can alternate the direction of the curls to add some dimension and avoid a uniform look.
Creating Tight Curls
For tighter, more defined curls, clamp the flat iron closer to your scalp and give it a 180-degree twist. Slowly pull the flat iron through the section while maintaining that twist. The slower the pull, the tighter the curl. Repeat this technique all over your head for those bouncy, springy curls that have a lot of definition.
Flipping the Ends for Volume
If you want a little extra volume, use your flat iron to flip the ends of your hair away from your face. This gives your curls more movement and body, creating a fuller, more voluminous look. It’s a simple trick that adds an extra bit of flair to your style.
Finishing Touches for Gorgeous Curls
Once you’ve curled all your sections, it’s time to finish things off and make sure those curls last as long as possible.
Brush or Finger-Comb
Depending on how defined you want your curls to be, you can either gently brush through them with a wide-tooth comb or use your fingers to separate them. Brushing will create softer, more voluminous waves, while finger-combing will keep the curls more intact but still give them a bit of movement.
Use Hair Spray or Finishing Spray
To lock in your curls, give them a light mist of hair spray or finishing spray. Don’t go overboard—just a light spritz will do to hold your style in place without making your hair feel stiff. This will keep your curls looking fresh all day long, no matter where you go.
Tips for Different Hair Lengths and Types
Not all hair is created equal, so here are a few tips based on your hair type or length to get the best curls possible.
Short Hair
If you have short hair, you might think it’s tricky to curl with a flat iron, but it’s definitely doable! You’ll want to use smaller sections and shorter twists to create those bouncy curls without flattening your volume. You can also use a hair straightening brush to smooth any sections before curling for a more polished look.
Long Hair
For longer hair, it’s important to section off your hair properly. The longer the section, the harder it can be to keep the curl defined, so take smaller pieces to ensure each one curls nicely and stays put.
Thick Hair
Thick hair can take a bit longer to curl, but the results are worth it! Use smaller sections and take your time with the flat iron to make sure each piece curls evenly. A higher heat setting is okay for thicker hair, but don’t forget to use that heat protectant.
Fine Hair
Fine hair tends to hold curls best when you keep the heat lower. You don’t need too much heat to get those curls to stick. Using volumizing products before styling can also help give your fine hair some extra lift and body.
Common Mistakes to Avoid
Even though curling with a flat iron is straightforward, there are some common mistakes you’ll want to avoid to keep your hair healthy and your curls looking great.
- Using a Flat Iron on Damp Hair: This is a big no-no! Always make sure your hair is fully dry before using a flat iron to avoid damaging your strands.
- Skipping Heat Protectant: Don’t forget to use a heat protectant spray—this will save your hair from a lot of potential damage.
- Over-Clamping the Flat Iron: Don’t clamp down too hard with the flat iron, or you’ll risk creating creases in your hair. A gentle but firm hold is all you need.
- Pulling the Flat Iron Too Quickly: Curling takes time. If you pull the flat iron through your hair too fast, you won’t get those defined curls, so slow down for the best results.
Conclusion
Using a flat iron to create curls is a game-changer when it comes to styling your hair. With a little practice and the right technique, you can achieve everything from soft, beachy waves to tight, defined curls. It’s all about finding what works best for your hair type and being patient with the process.
So grab your flat iron and start experimenting—you might just find that curling with a flat iron becomes your favorite way to style your hair!

